A Step-by-Step Guide to Installing GASLAND Chef's Gas Range: GH90SF
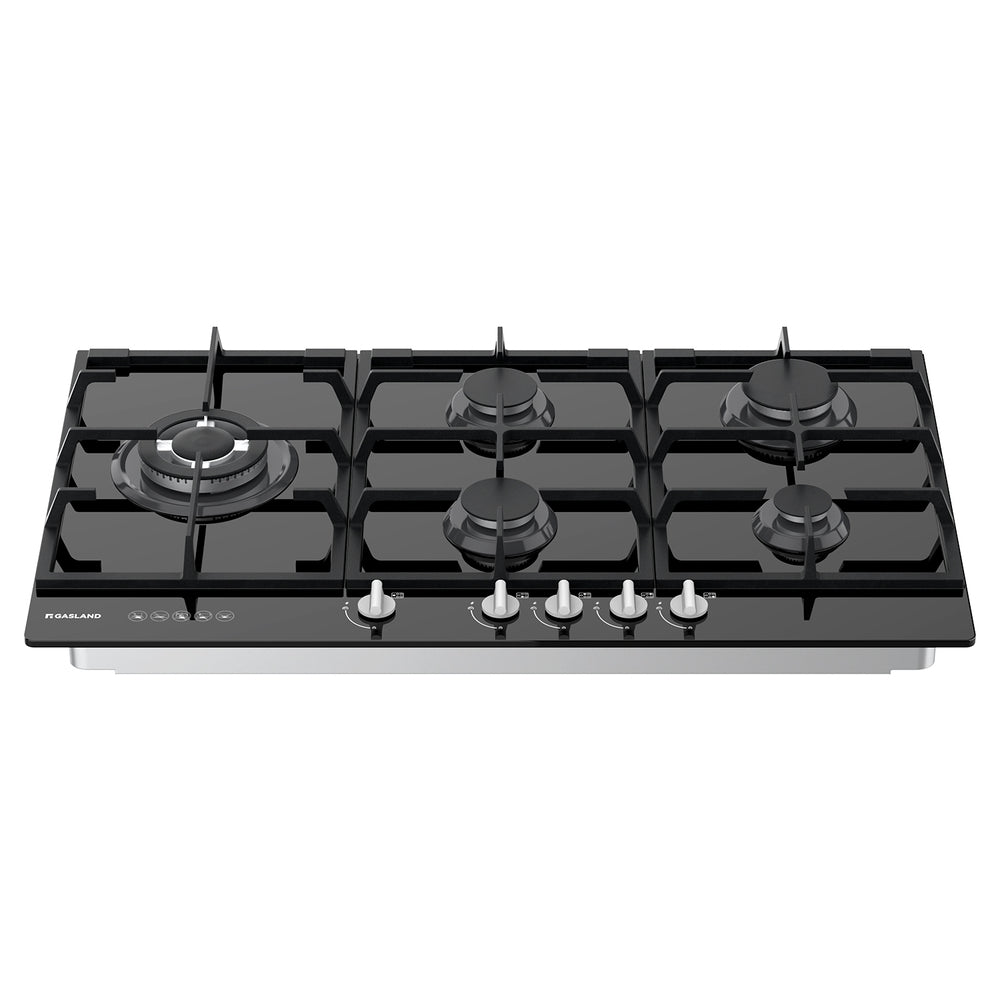
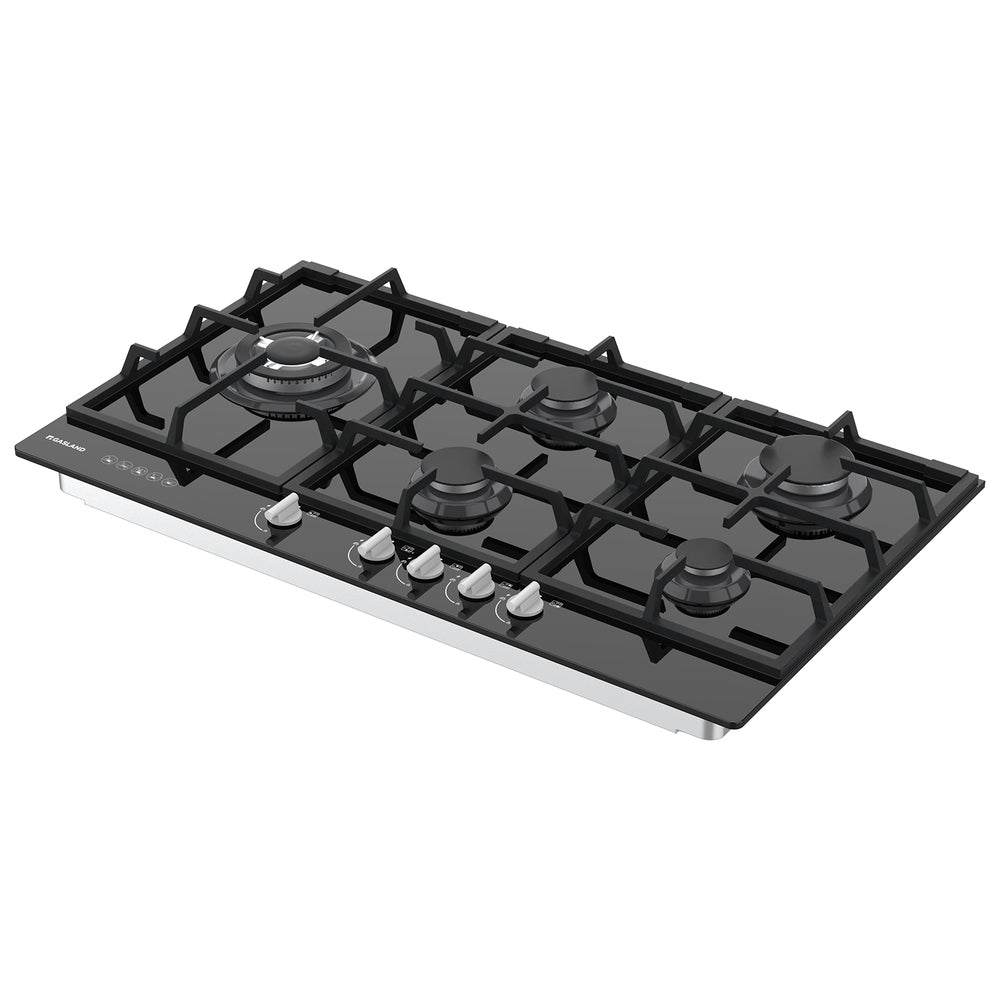
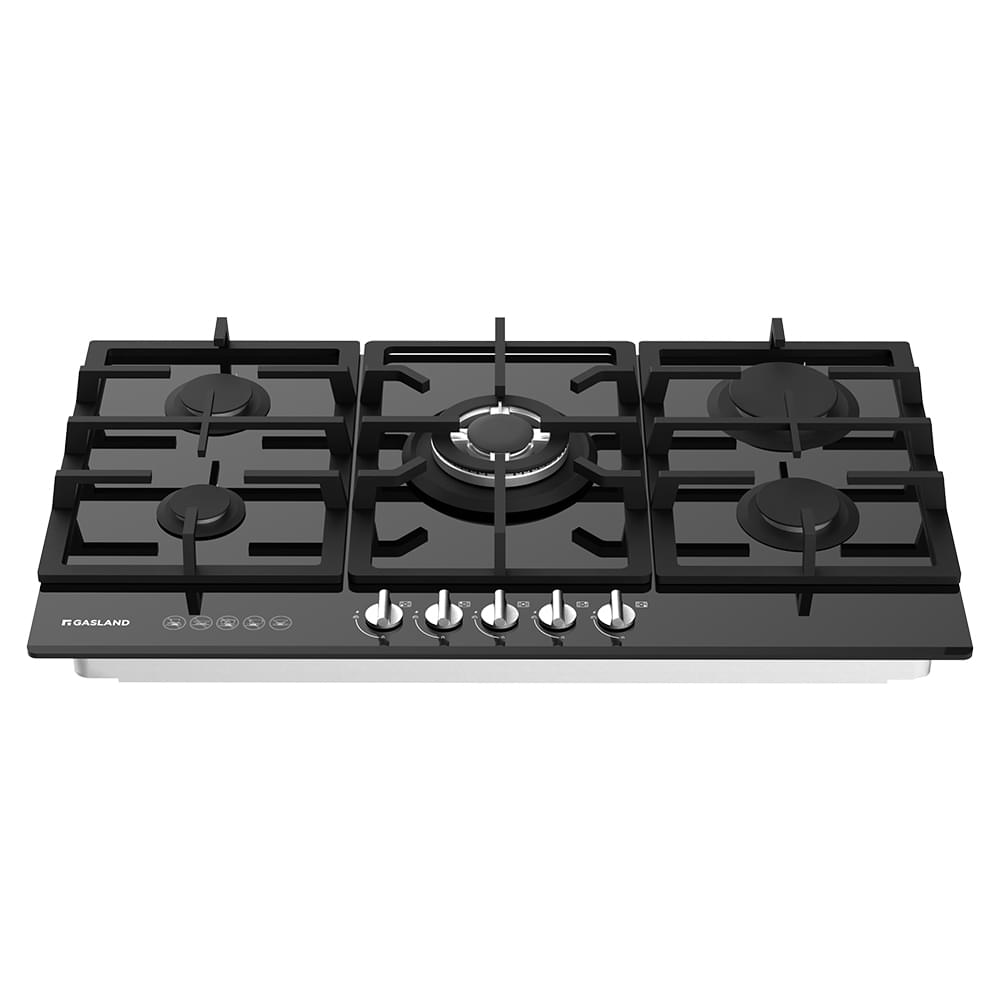
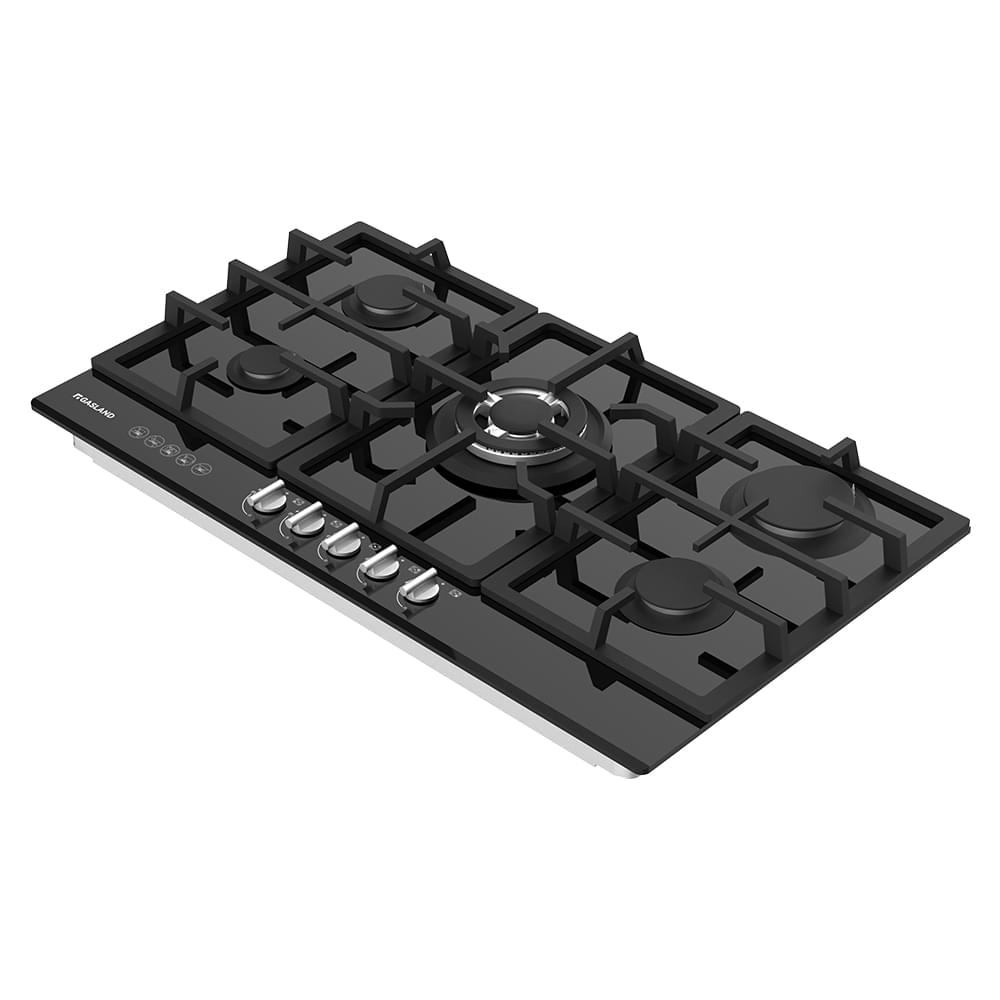
Are you excited to upgrade your kitchen with a new GASLAND Chef gas range? Installing it yourself might seem like a daunting task, but fear not! We're here to guide you through the process step by step, using the GH90SF model as an example. Follow these instructions to ensure a seamless installation and a safe cooking experience.
1. Preparing the Cutting Size
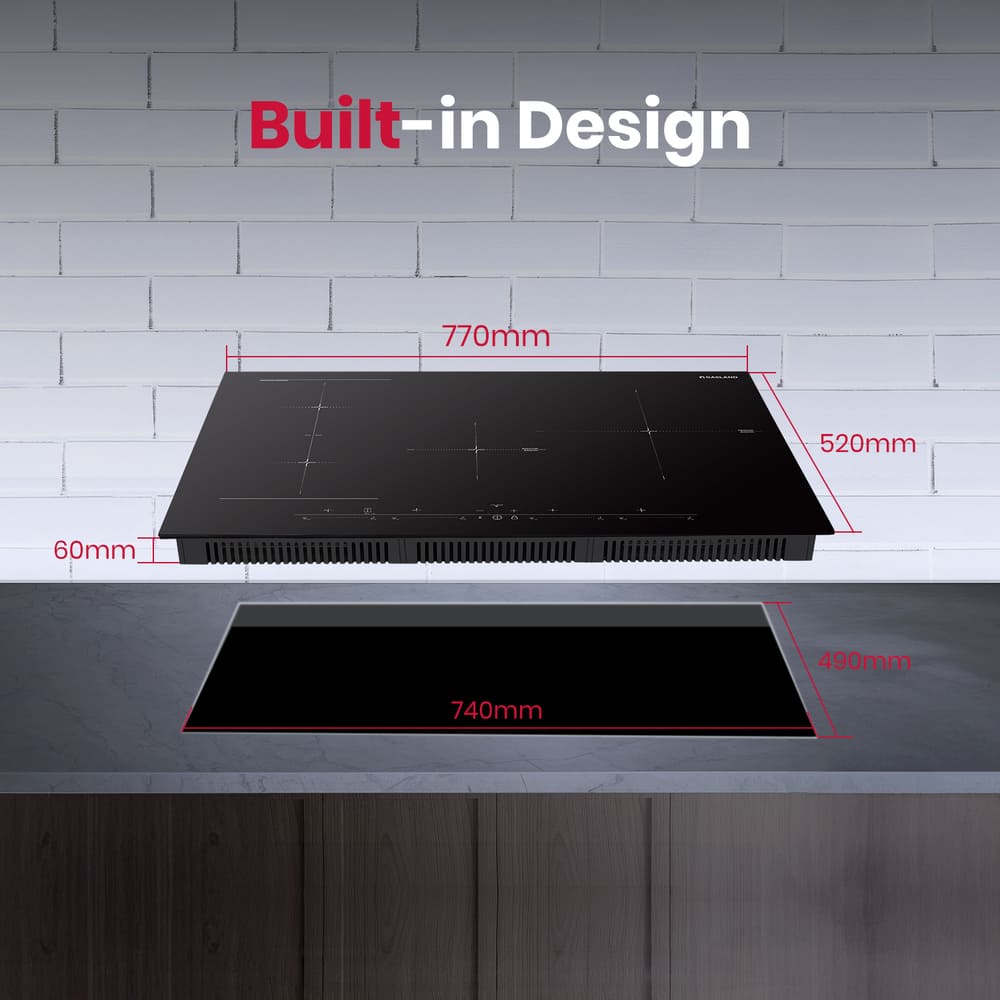
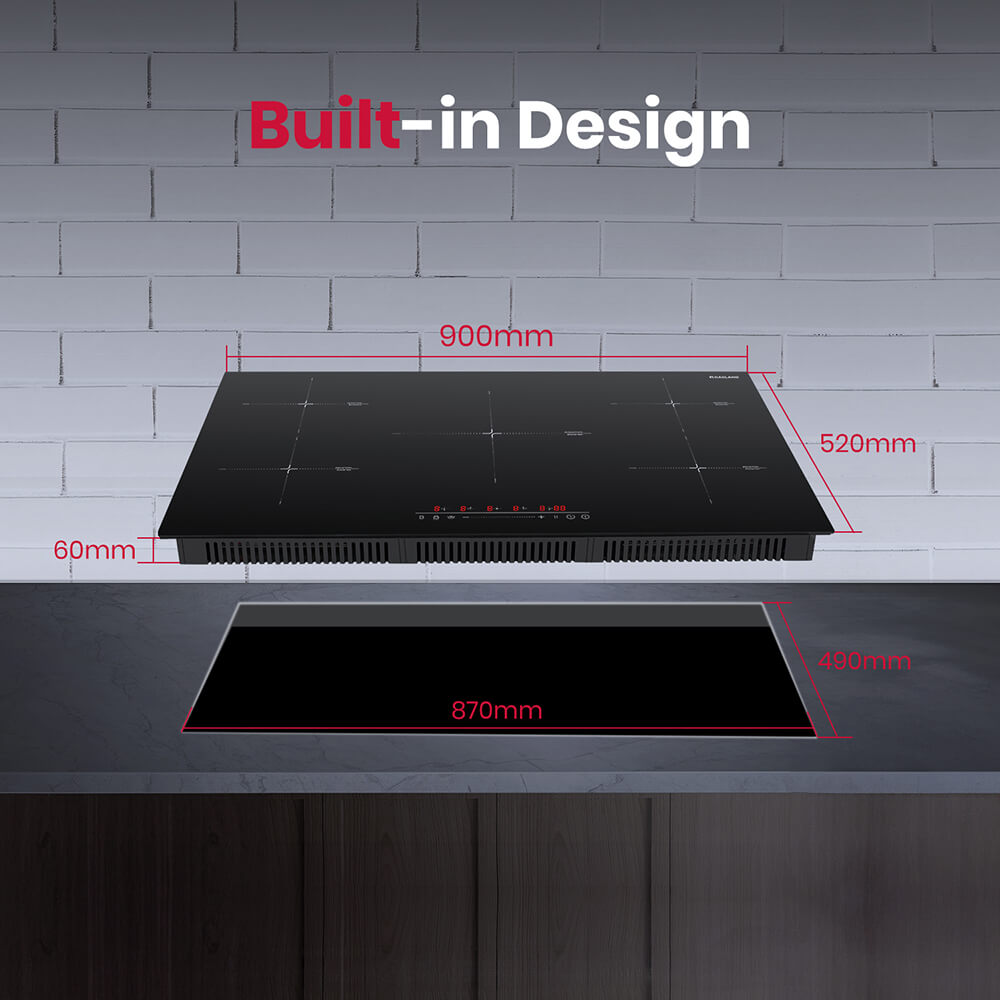
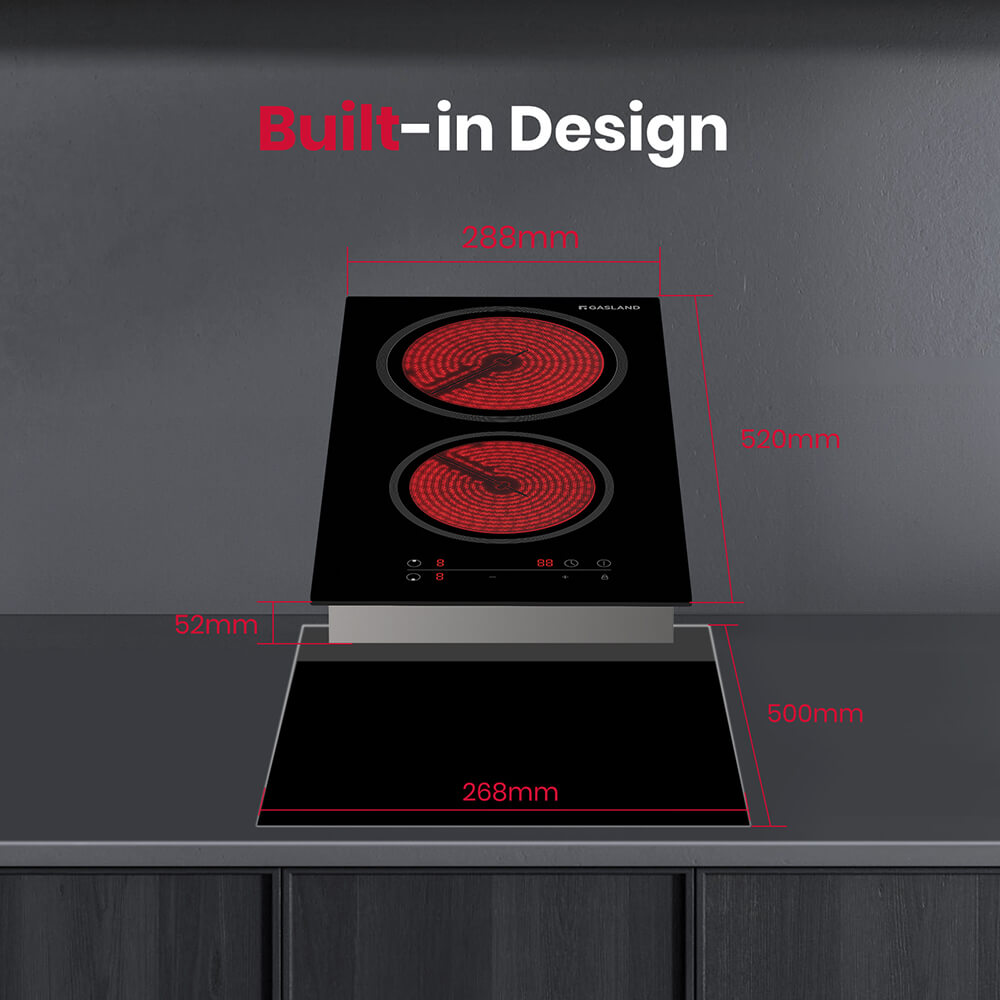
Start by determining the appropriate cutting size for your gas range. Each GASLAND Chef product comes with a cutting module template in the package, making this step hassle-free. Place the template on your countertop and mark the cutting area accordingly.
2. Applying Adhesive Tape for Stability
Cut a piece of black soft adhesive tape to match the dimensions of the cutting opening. Apply the adhesive tape around the perimeter of the cutting area. This simple step prevents your gas stove from sliding or becoming unstable once installed.
3. Connecting the Pressure Regulator
Attach the pressure regulator to the gas connector, ensuring a secure fit. To maintain an airtight seal, use Teflon tape around the threads. This step is crucial for a safe and efficient gas connection.
4. Installing Screws and Clips
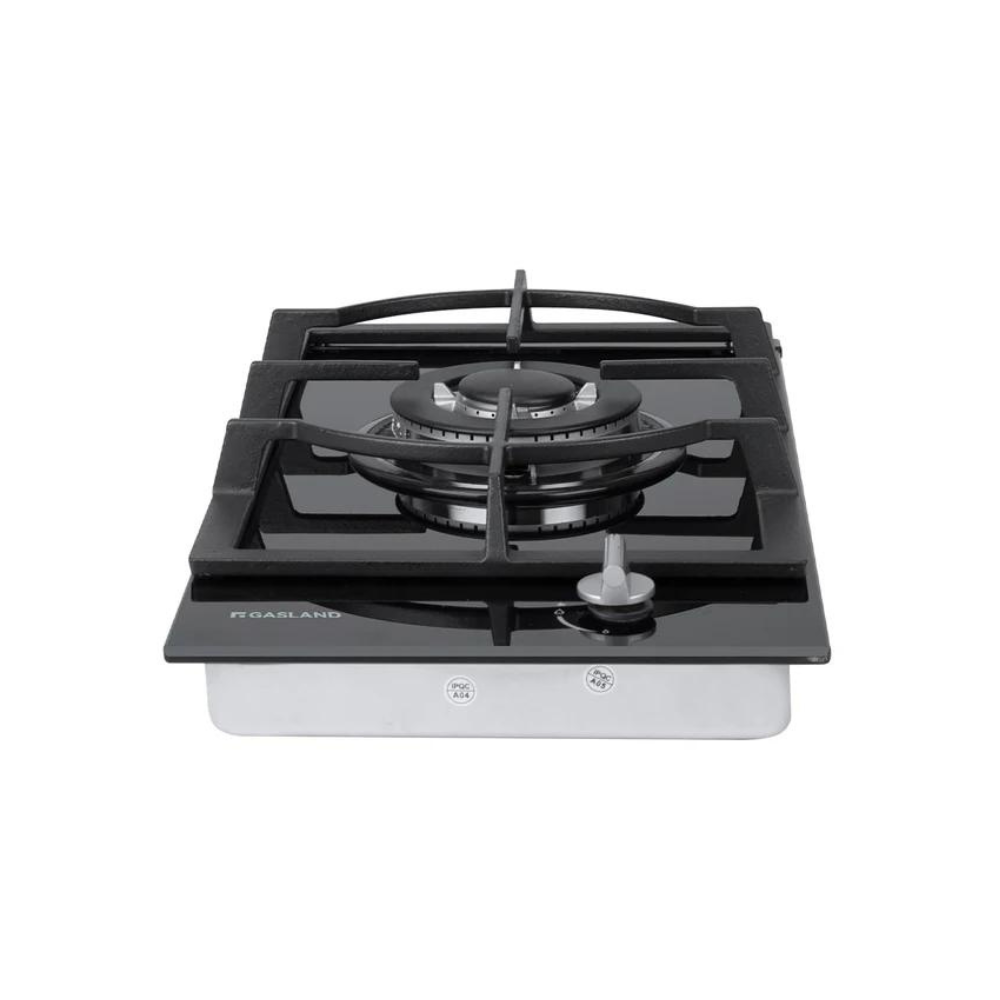
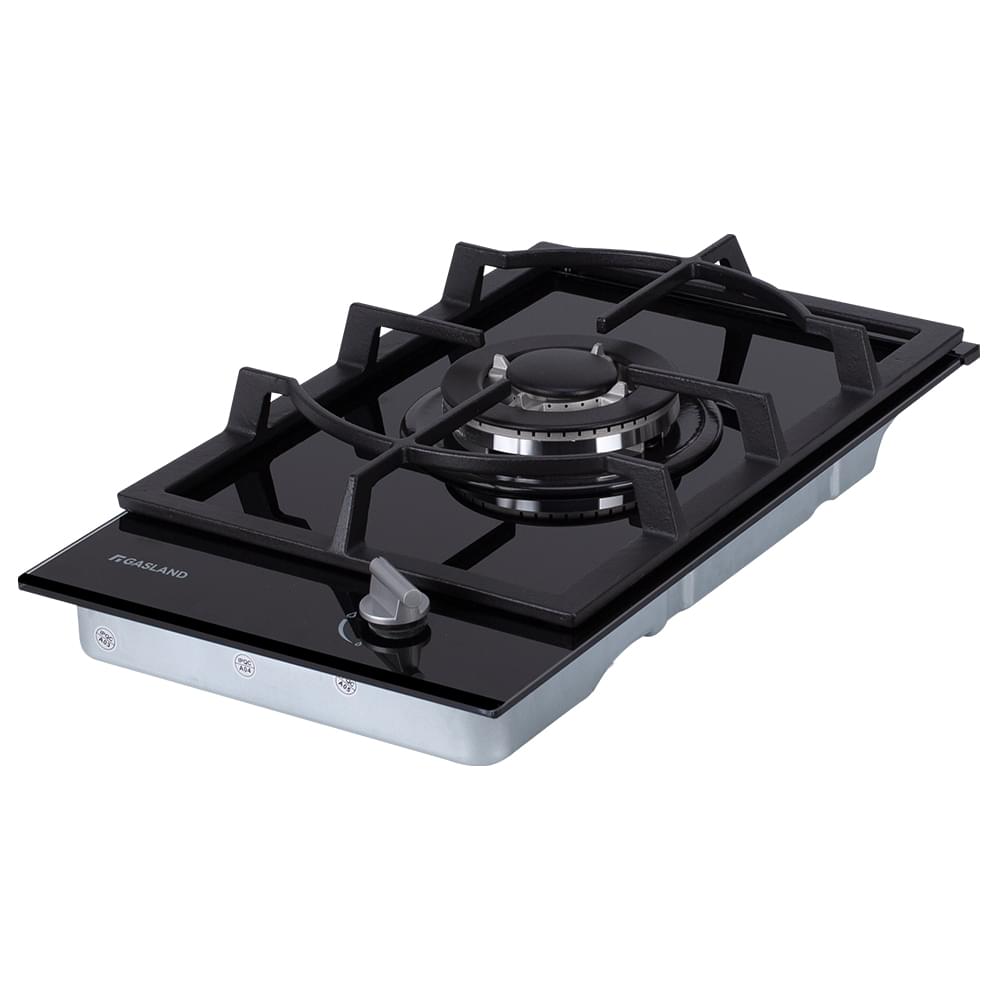
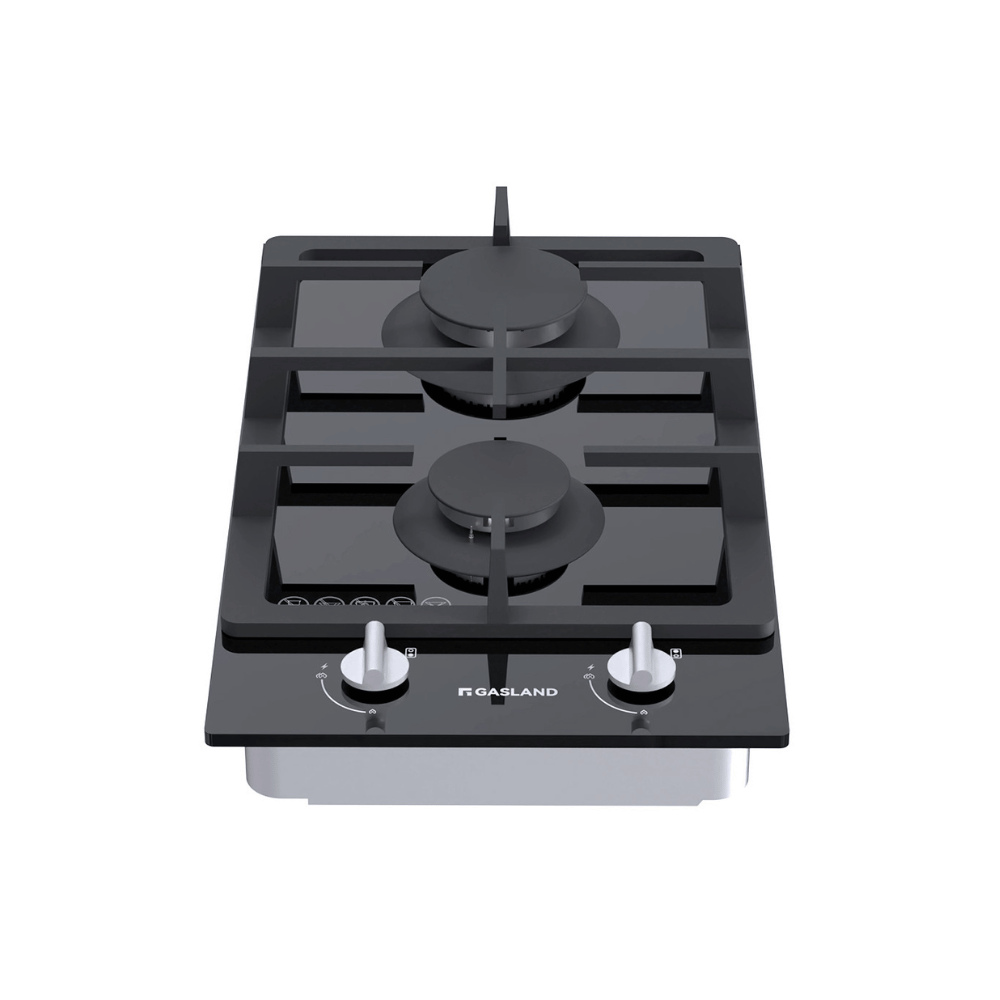
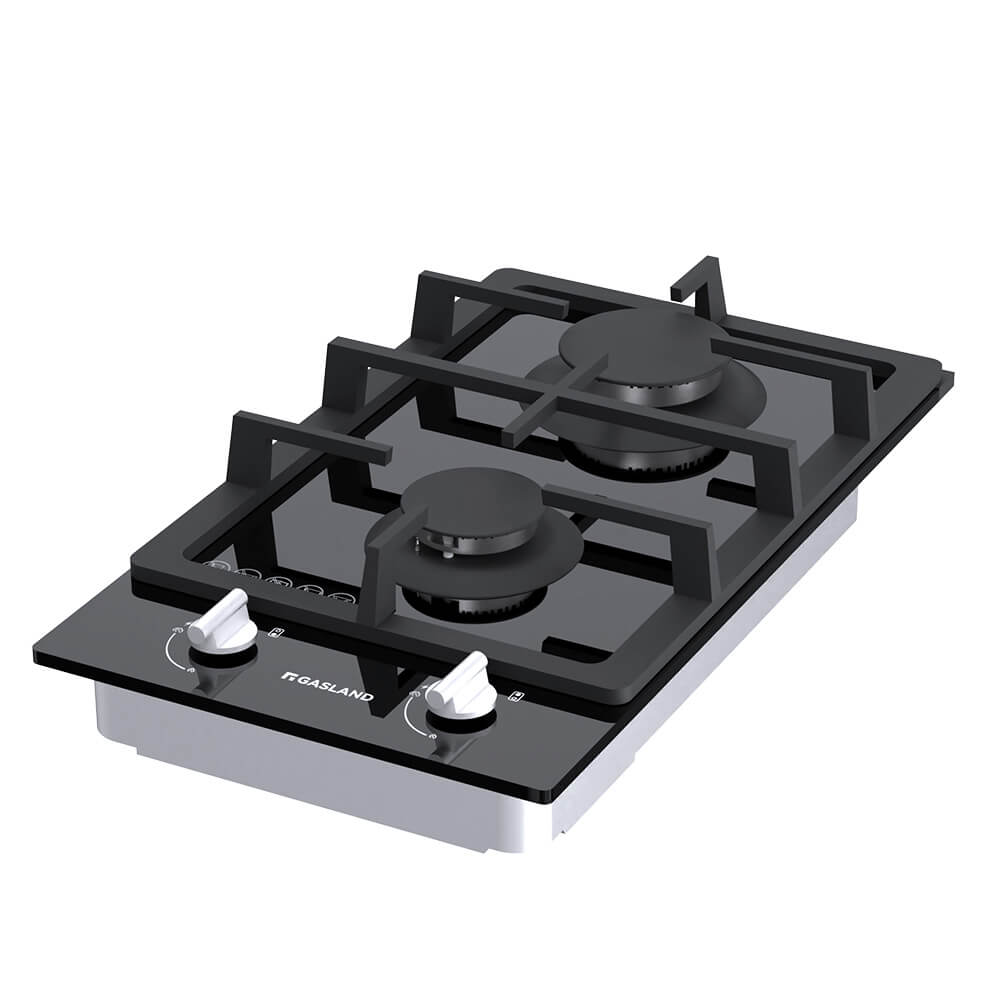
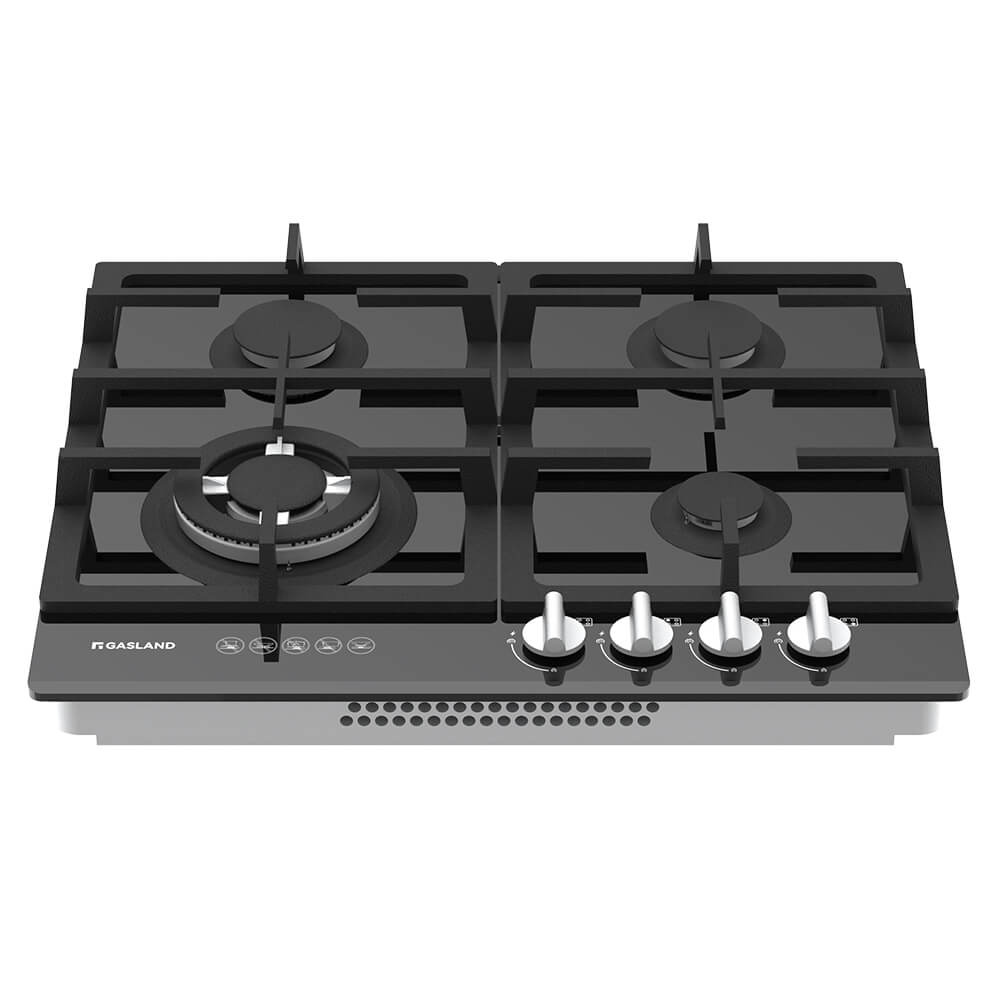
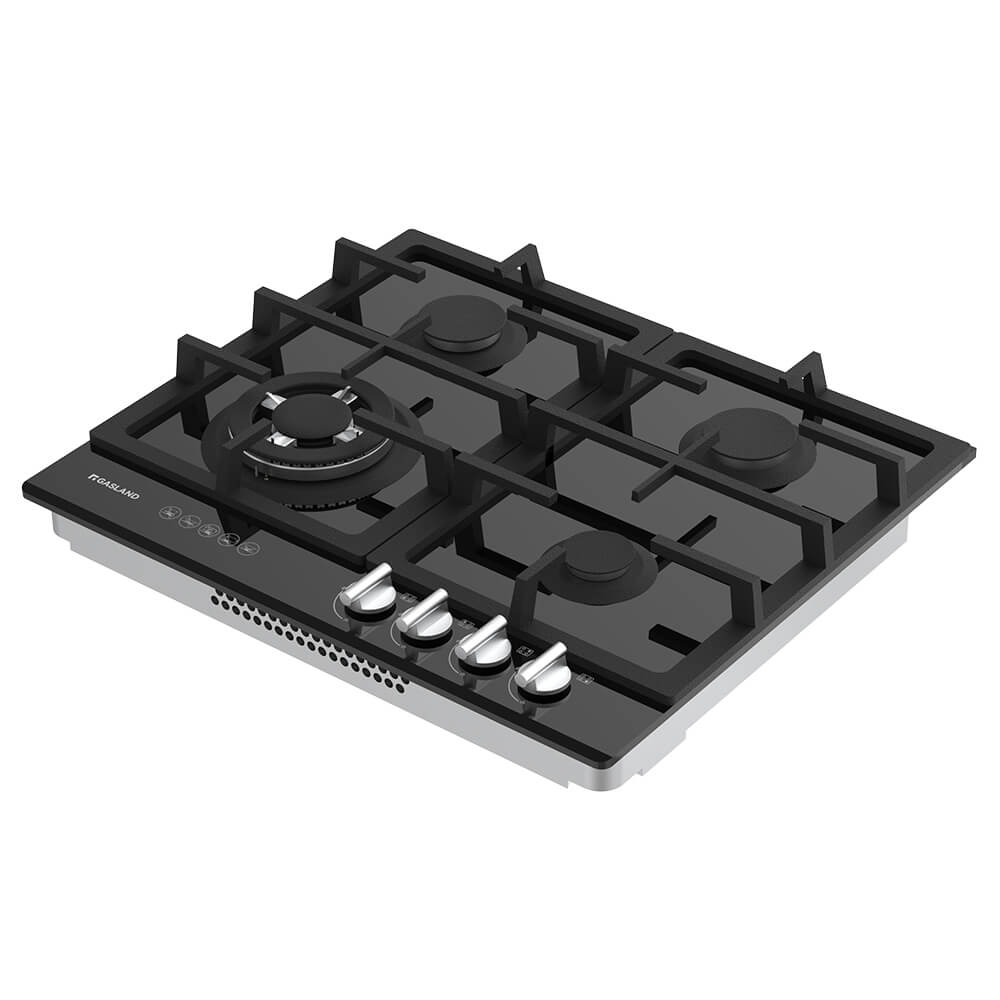
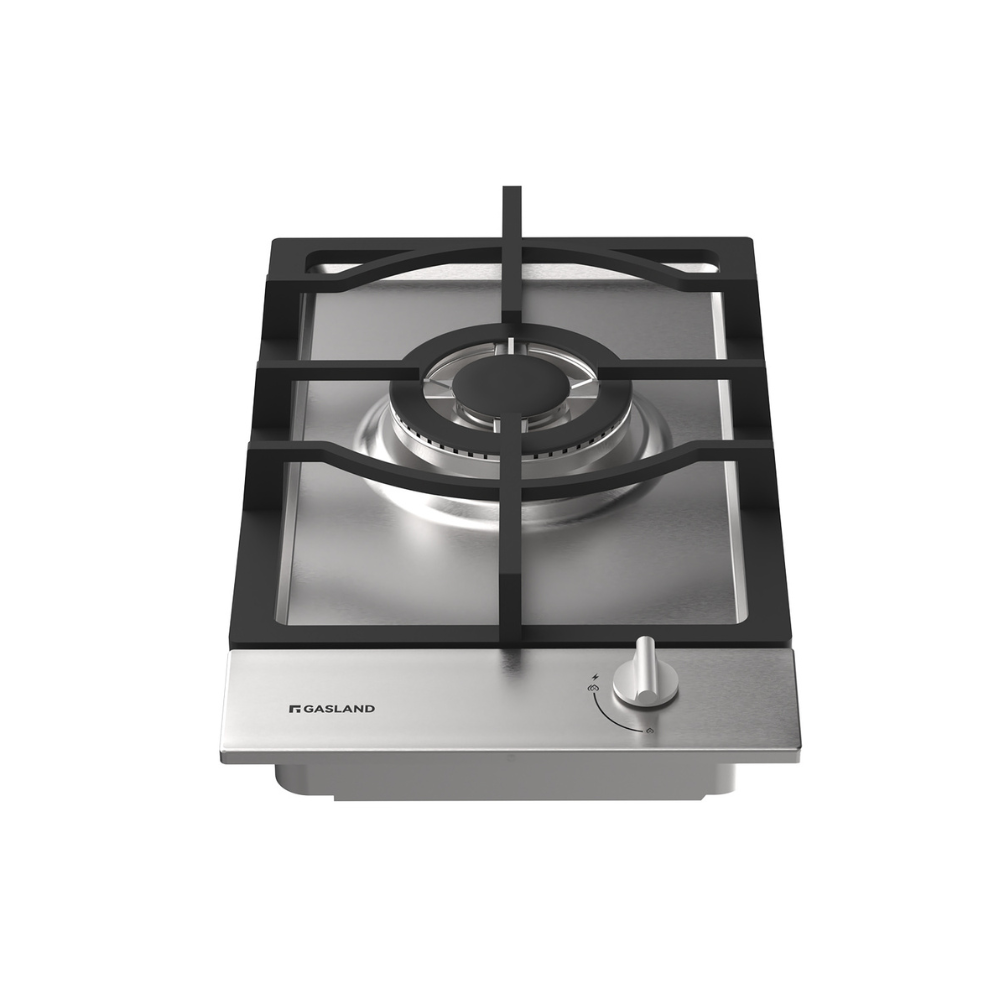
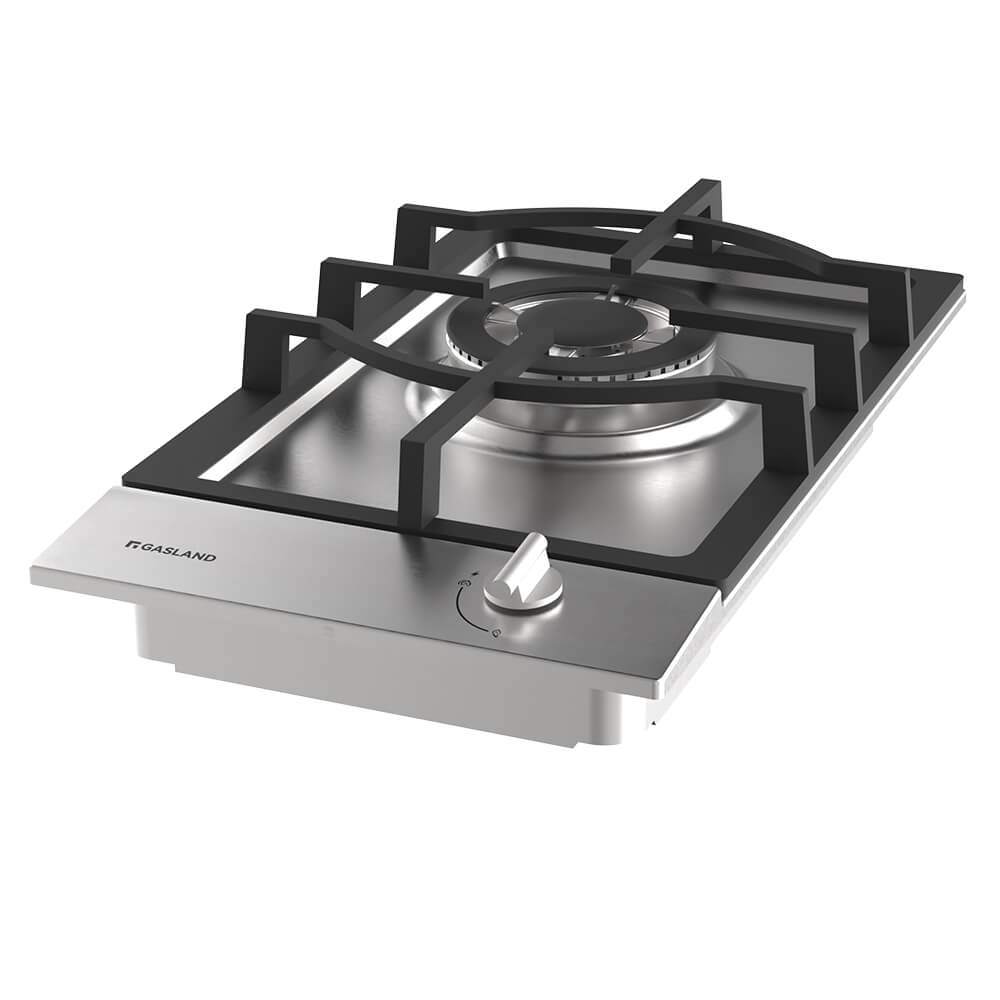
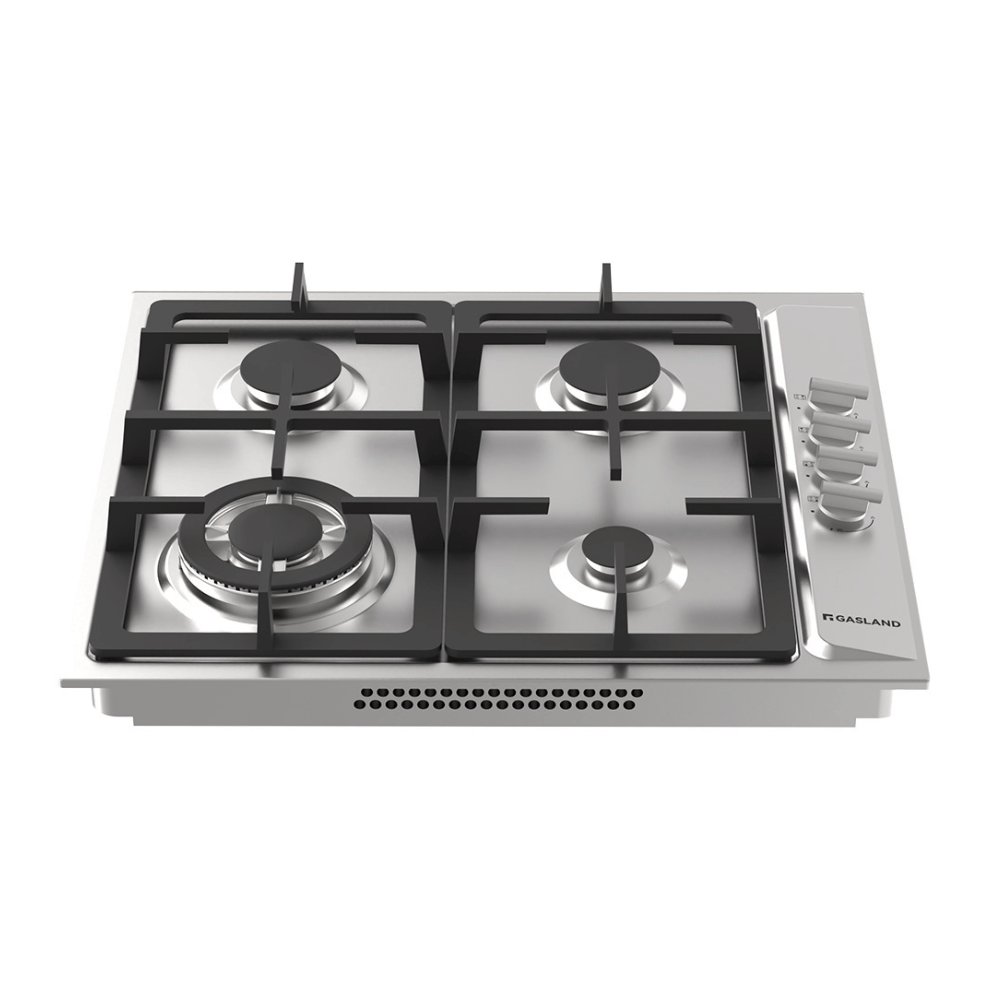
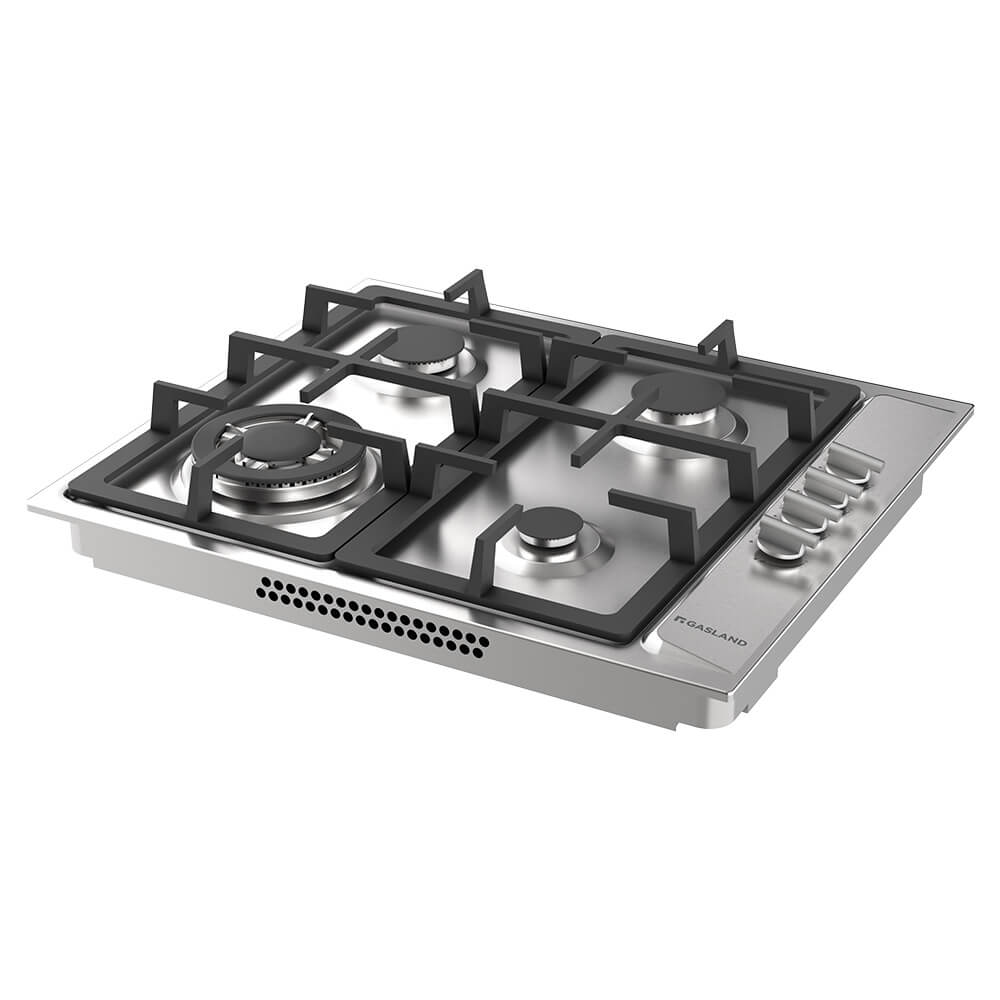
Normal Burner: Normal burners have a relatively even distribution of heat, which is well-suited for cooking with regular pots and pans.
Wok Burner: Wok burners are designed to concentrate the heat in the center, directly under the wok's bottom, allowing for intense and even heat distribution across the curved surface of the wok.
5. Placing Burner-Specific Molds
Follow the manufacturer's instructions and place the corresponding molds according to the size of each burner. This ensures that the burners fit snugly and align accurately with the card slots.
6. Adding the Final Touches
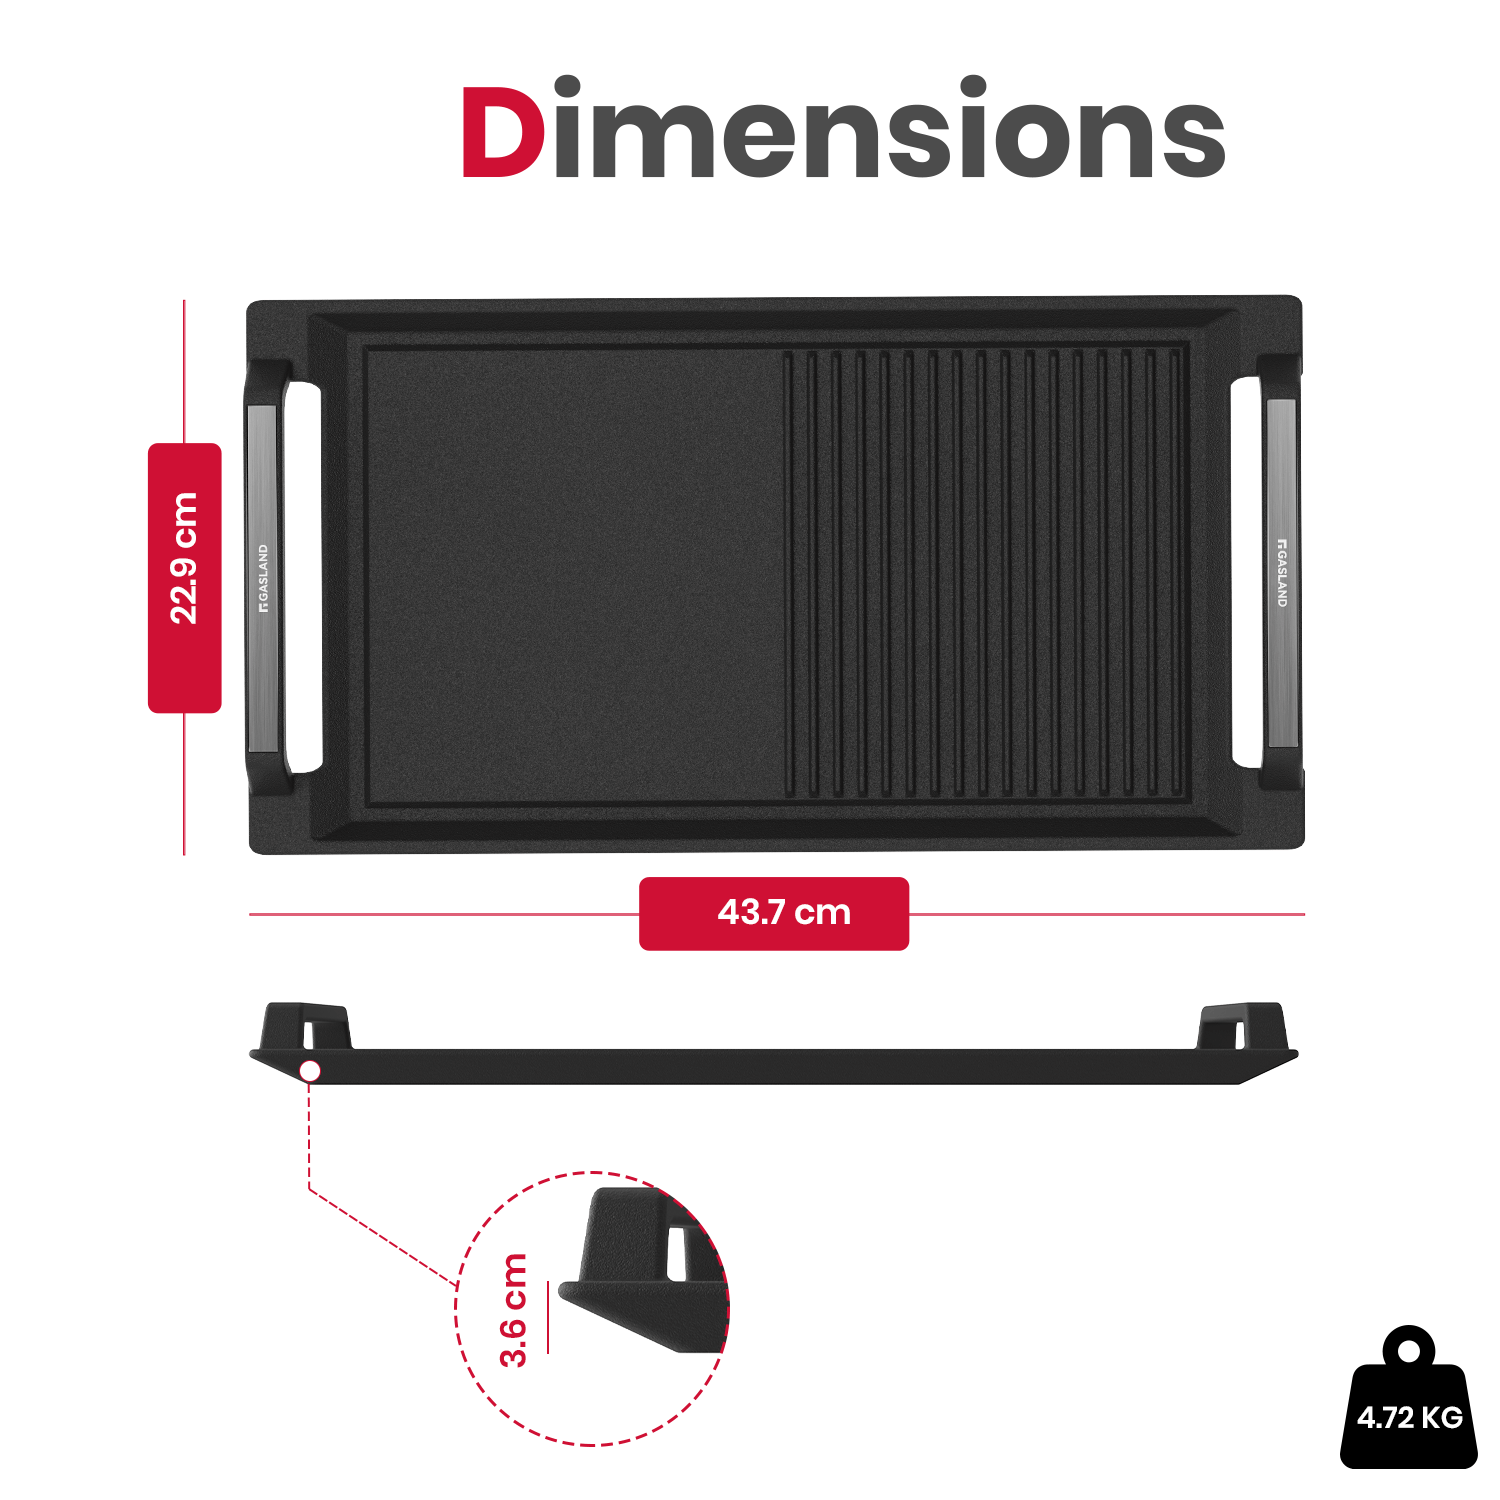
Now, place the cast iron rack and baking tray onto the gas range. These elements complete the installation and prepare your gas range for use.
7. Ensuring Safety: Checking for Gas Leaks
Normal Burner: Normal burners have a relatively even distribution of heat, which is well-suited for cooking with regular pots and pans.
Wok Burner: Wok burners are designed to concentrate the heat in the center, directly under the wok's bottom, allowing for intense and even heat distribution across the curved surface of the wok.
8. Additional Resources: Instruction Manual
Instruction Manual of the mode: GH12SF, GH30SF, GH60SSC, GH90SF
Conclusion
Congratulations! You've successfully installed your GASLAND Chef gas range, transforming your kitchen into a culinary haven. Remember, safety comes first – double-check gas connections for leaks before firing up your burners. Should you encounter any challenges, our customer support team is ready to assist you. Enjoy your cooking journey with your new gas range!
For further inquiries or assistance, feel free to reach out to us via the contact information provided at the bottom of our website. Happy cooking!
FOR FURTHER ASSISTANCE, PLEASE EMAIL US AT: SUPPORT@GASLANDCHEF.COM.AU
🛒Shop GASLAND Chef at: https://gaslandchef.com.au/collections/gas-cooktop
Facebook: facebook.com/GaslandChef.us
Instagram: instagram.com/gaslandchef.us


